

These 12 car cleaning tips will help you achieve a spotless car and give you peace of mind that you’ve done all you can do at home while not breaking the bank.
These steps will help you take your car washing technique from clean to damn near showroom finish – or as close as you can depending on the products used and your time and budget, of course.
Of course, there’s always the option to hire a professional. And I’m all for it! A detailing shop will do freaking amazing stuff to your car! But sometimes, budget is an issue. And sometimes, you don’t need your vehicle to be competition-ready. And most of all, sometimes your need to get your hands dirty just for the pure joy of taking care of stuff yourself.
So let’s get on with the tips, right? At the end of the article, you’ll find all the required materials if you want to follow all my steps.
0. Surprisingly easy mistakes when washing your car
Always use a mitt. And always move the mitt in straight motions from the front of the car to the back of the car. Avoid swirling it around.
Wash from top to bottom. Don’t fight gravity. You won’t win.
1. Avoid extreme heat or direct sunlight when cleaning your car.
When your car sits in the sun, the paint and other exterior parts can get quite hot. Apart from issues like paint fading and other issues, water and the chemicals inside the products you’ll use dry faster than usual, so they won’t work as well.
And if you’ve just parked in a shaded area, make sure to let your car cool off – touch the paint. You should be able to hold your hand on the paint, and it shouldn’t burn (you know, like in the sun when you just can’t keep your hands on the paint for more than a couple of seconds).
Or if you’re in a hurry, just run water on it for a minute or two with a garden hose. I’d just wait.
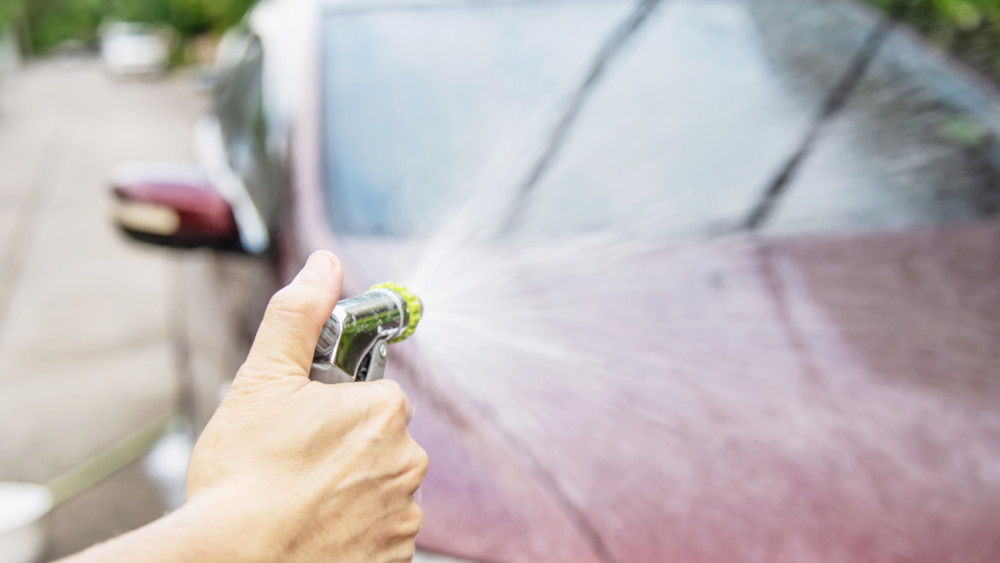
2. Don’t neglect the pre-wash
As some people refer to it, the pre-wash or touchless wash has a vital role in the whole process: to get rid of excess dirt, so you don’t scrape it on your paint while manually cleaning the car.
Use your pressure washer from a distance, and get closer after going all over the car. Of course, you can also use a garden hose – even better if you have an attachment of some sort that increases the pressure.
3. A pressure washer helps – cover your car in foam.
This is still part of the pre-wash or touchless wash.
Use your pressure washer foam cannon attachment, or just use a manual foam pump (or however you like to call it – see above picture).
The idea is to try and cover the car in foam and let it sit for 2-3 minutes. Then rinse it off using the pressure washer or the garden hose.
Our goal with this pre-wash is to get the car clean-ish.
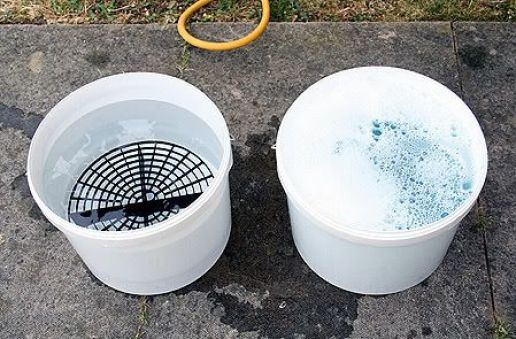
4. The two buckets method
After a proper pre-wash, you are now ready to go to the next step—manual washing with two buckets and a washing mitt.
When washing your car, the idea of the two buckets method is to have one bucket with the shampoo wash solution and one with plain water to rinse your wash mitt.
Some things to keep in mind:
- wash from top to bottom
- always wash in straight motions – don’t swirl
- wash in small sections
- Always keep the washing mitt soaking wet. You don’t want to rub it when it’s dry-ish.
- After each small section, thoroughly rinse the washing mitt in the water bucket to get rid of contaminants and grit stuck in the washing mitt.
- rinse the whole car as best you can with the pressure washer or the garden hose
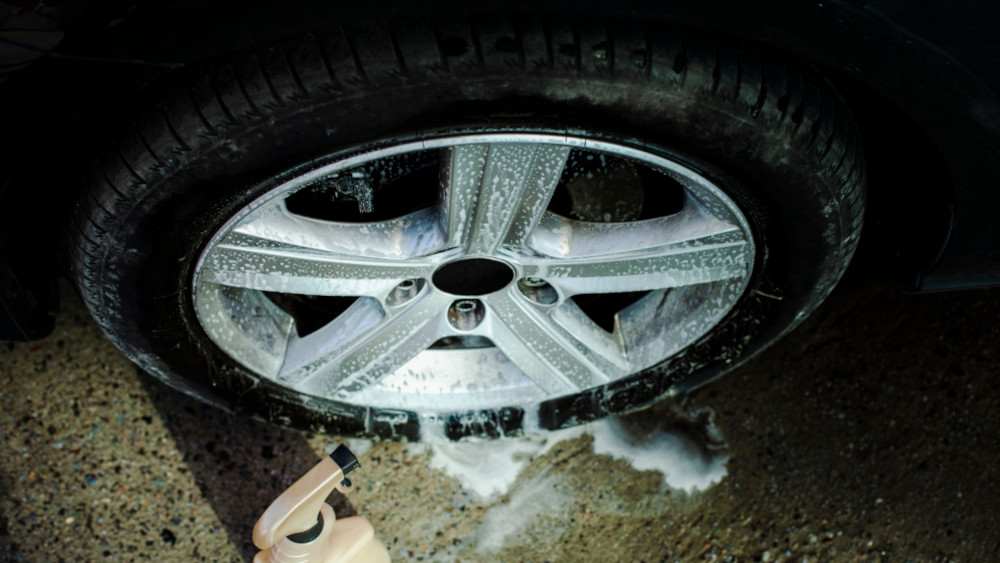
5. Don’t neglect the wheels and wheel arches.
I’ve never felt the need to use a special product for my alloy wheels. But then again, I’m not participating in any show. It’s my daily. But if you want to get some, it couldn’t hurt as wheels get pretty dirty from all that brake dust and stuff. If your wheels are old, you might need some powerful product to get all the black stains out – I’d try the cheap way first.
Using the same two bucket method, pay attention to all the wheel shapes and corners, and they’ll turn out great!
The same goes for the wheel arches. You want to clean them as well as you can. It’s not just the fact that some parts might be visible, but it’s plastic. We want to take care of it as best as possible as it protects sensible parts of your car.
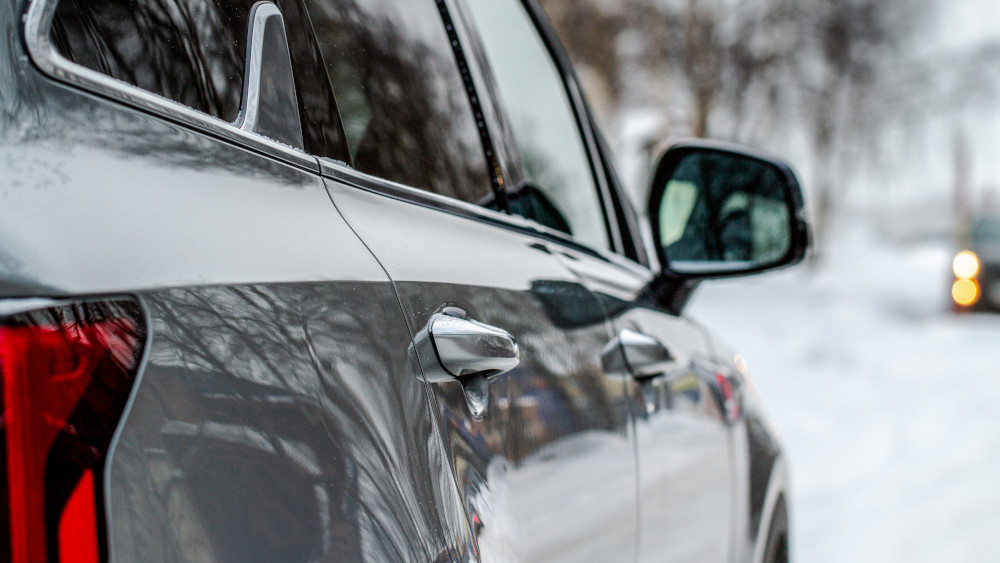
6. Never forget to clean the weather stripping.
The rubber material around the edges of the doors and windows is called weather stripping. Your car might also have some weather stripping on the roof.
Keeping these clean is essential because you’ll prolong their life and help them create a good seal. On some cars, the weather stripping on the roof can also cause leaks when they get clogged or even get damaged faster if some gunk is stuck in there.
Get in deep and try to get all the dirt out.
After you’re done, wipe it with silicone. Silicone will protect the rubber from the heat and prevent water from sticking to the rubber and freezing. A thick coat will keep your doors from freezing shut.
Silicone will also prevent drying and cracking in the future. It’s incredible how much you can prolong the life of these parts with just some care.
7. Mind the extra metal at the doors, bonnet, and trunk
Door jams, trunk jams, and even bonnet jams need love too. I guess it depends on your car’s specific body, but mine gets a lot of dirt.
Cleaning the metal part of the door on the inside and the jams is just a small detail that helps tie it all together, and if you want to go the extra mile, clay and wax those areas too.
8. Black plastic exterior trim? Make it black!
Many cars have some form of black plastic trim on the outside. It’s not my place to judge if that looks good or not (mine has, it doesn’t bother me). But it definitely doesn’t look good if it’s gray and faded.
So use a dedicated black trim restorer if your budget allows you to, or just use some silicone spray. While a silicone spray will not last as long as a professional product, that trim will be black for a couple of days. And even more, depending on how much sun it gets.
9. Inside out glass cleaning
I use a household glass cleaner, and it does wonders. I used so many types it’s not even worth mentioning a brand. They all do their job.
What’s important is to clean the glass on the inside too! You’ll be surprised how ugly that interior stain on the glass would look if everything is clean except that. (my husky loves to lick windows – idk, ask him)
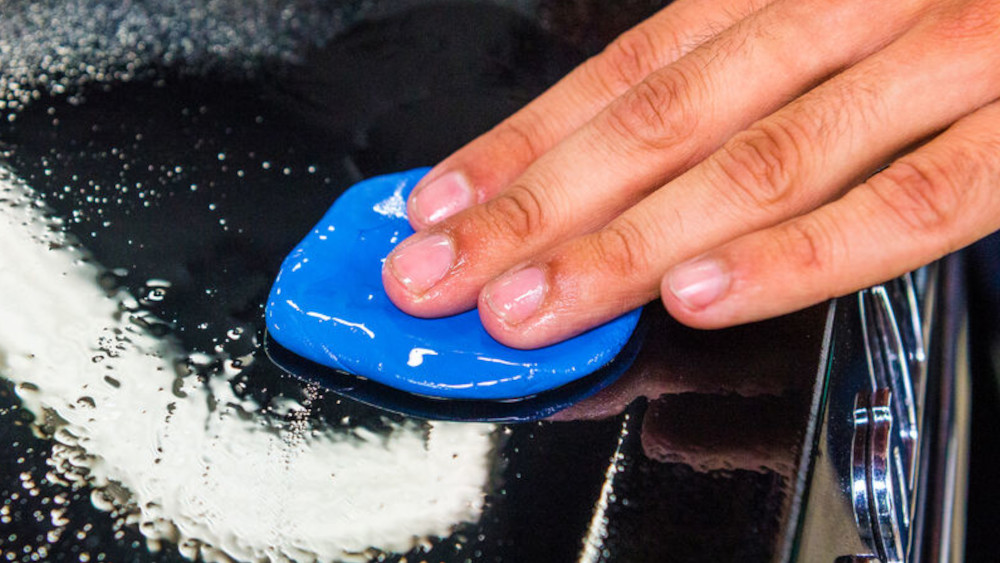
10. Use a clay bar for the extra step
Think of the clay bar as a detoxifying clay mask women like to use. Clay bars work just like that… sort of.
The clay bar grabs onto contaminants and gets them off your car’s paint. And that’s how you end up with smooth-to-touch paint.
Here’s an excellent way to clay bar your car at home:
- Separate the clay bar into equal parts (depending on the bar size: halves or quarters)
- Work it with your fingers and flatten it into a patch that fits into your index, middle, and pointer fingers
- Again, work in small sections: like a quarter of your hood or something
- Spray the area with some soapy water (water + soap) or a detailing spray if you’re rich
- Glide the clay across the wet area. Again, NO SWIRLS! Straight motions
- Wipe the excess liquid with a microfiber towel
- Fold the clay until it looks clean, go to step 2, and repeat.
- Repeat until the whole car has been clayed.
You might want to wax your car after claying it to avoid stuff sticking to your paint again.
11. Dry it!
Drying your car helps avoid watermarks, streaks, and stuff like that.
A leafblower works amazingly! And most of us have one.
But you can also use a huge microfiber towel and gently get as much of the water as you can. Minuscule drops are not a problem. They’ll evaporate and don’t have enough stuff in them to leave a mark.

12. Wax it!
If you’re on the fence about waxing your car… don’t be! Waking protects your car’s clear coat and, if done properly, will keep it looking glossy and new.
It also hides minor scratches and stuff, so your car will look better when waxed, even if it’s an older vehicle. My Renault Laguna III is from 2008. And I swear when I look at it after it’s been waxed, it looks damn amazing. And it’s a daily driver, with three dogs and some years without a garage.
Some tips regarding waxing your car:
- Don’t do it in direct sunlight or if it is freezing outside.
- Try to avoid working under a tree or in a place where other contaminants might get on your paint before you get to wax.
- If you are sure that the paint is contaminants-free – you really cleaned it well or just clayed it, use swirls or straight lines to buff. If you are unsure, use straight motions to be safe, even if wax products should not be and are usually not abrasive.
What type of wax should you use?
Spray wax is great if you’re short on time. Shake that bottle well and go for it.
Paste wax is harder to apply but usually lasts longer.
Liquid wax is in the middle. My favorite type as it’s quite easy to apply, and it lasts pretty well. Again, remember to properly shake the bottle to mix the ingredients inside properly.
Here is an example of a waxing procedure for your car that you can follow at home:
For the spray:
- Pick a small to medium section
- Spray the wax product directly on the car
- Rub in the wax with one microfibre towel
- Buff it out with another clean microfibre towel
For the liquid/paste:
- Pick a small to medium section
- Put some product on the foam applicator pad and buff it into the paint
- Let it sit for a couple of minutes
- Using a clean and very soft microfibre towel, give it a thorough wipe and buff
- Check reflections and look at the section from an angle to make sure you’ve buffed out all the product off the paintwork
You’ll probably be able to notice quite a difference once you’re done with half of a big body section, like half of the hood. The wax will protect your paint while making your paint look a lot better.
Materials required
Obviously, you will need some products to get all this done.
Speaking from experience, even cheap products do a pretty darn great job. Stretch as far as your budget allows you to.
- a washing mitt – I like the Zwipes one from Walmart
- two buckets, with a grit guard
- a pressure washer (I got one for about 90 euros a couple of years ago. No professional foam, but I’m not opening a shop, I’m washing my car) / a garden hose with some pressure attachment
- a foam attachment for your pressure washer / manual foam ‘canon’ (something like this works great for a touchless pre-wash)
- black trim restorer (Meguiar’s G15812 is great for ~$15) / silicone spray (had some leftover WD-40 Specialist Silicone spray, and I must say, while it doesn’t last as long, it looks amazing the first couple of days – it’s a cheap fix, but it works)
- glass cleaning solution (I used the same stuff I use for the house windows works well)
- 2 or 3 microfiber cleaning cloths – and 1-2 bigger if you don’t have a leafblower to dry the car quickly
- a car shampoo (really, your budget speaks here. Expensive is sometimes worth it, but don’t go over the top. Some good options: Adam’s Car Wash Shampoo, Meguiar’s Gold Class, and Meguiar’s Hyper-Wash)
- a clay bar (used Mothers brand for about $19, and it does the job pretty good)
- a car wax product (Optimum Car Wax is amazing – I got it for about $15, Meguiar’s also has some great stuff)
- a wax applicator pad, if your product does not come with one;
- nice to have: some nitrile gloves or some similar gloves, to protect your hands;
Everything looks better clean
Closing thoughts
Ideally, if your car is a daily driver and you drive a lot, you should wash it at least once a month or even sooner. Claying and waxing should be done as needed. I usually do it once or twice per year.
I look at cleaning as a form of maintenance. Keeping your car clean prevents other problems, and let’s not kid ourselves. A car that looks good and is taken care of will probably sell better in the future should you decide to sell it.
Oh, and it feels good to drive around when it’s clean – and inexplicably even better if you did it yourself. It’s a hard to describe and amazing feeling.
There you have it—twelve tips to help you get a not only clean but really good-looking car at home. As a car owner, you might already own most of the stuff I mentioned above. But even if you don’t, they are worth it as you’ll probably want to rewash your car soon.
Comments are closed.