
")
This is a long article. But I figured it’s easier to have everything on one page than splitting stuff up. No need for senseless clicks and taps; everything is here.
There’s no debate: proper maintenance is key to a long-lasting car. Your car’s life and performance are tied to how well it is maintained. And knowing what you need to do and when to do it is the first step in winning the battle. All you need to do is do it!
- How all this works
- The car maintenance charts
- Check your lights
- Check your windshield wipers
- Check tire pressure and tread
- Check tire age
- Check fluid levels
- Replace the cabin air filter
- Replace the engine air filter
- Change engine oil and filter
- Rotate your tires
- Check your shocks and struts
- Replace the timing belt
- Replace spark plugs
- Replace the serpentine belt
- Change your engine’s coolant
- Replace brake pads
- Replace brake rotors
- Change your brake fluid
- Replace your fuel filter
- Replace your transmission fluid
- Check your battery and cables
- Check visible hoses
- Check your exhaust
- Clean and wax your vehicle
- Get yourself an OBD-II scan tool
- Ending notes
And as a novice DIY-er or a car enthusiast, most of the below maintenance jobs can be done easily by yourself. There are a lot of guides, tutorials, and instructional content on the internet nowadays for most models. But I do suggest you grab a service manual of your car’s model if you plan to keep it for a while. It will pay for itself pretty fast.
As to why you should try to DIY most of these, I guess the most valid answer would be: hey! We’re all car enthusiasts over here. Let’s have some fun while saving some money. And if cars aren’t your hobby, well… you can still save a lot of money if you DIY the simple stuff and then just do everything when it’s due at your local mechanic to prevent other problems (that can turn into other costs) and to have a properly working vehicle.
How all this works
I’ve tackled this maintenance article/list in a way to exhaust most of the common maintenance operations needed for a typical car. Of course, there will be the occasional weird problem. But most of the time, if you follow a proper maintenance schedule, you’ll minimize surprises. Especially if once in a while, when visiting a mechanic for something you just can’t DIY (or don’t want to), you ask them for a proper vehicle inspection. Their experience can help you avoid surprises.
But some things are just prevention actions or check-ups that you should often do, and some things are things you don’t need to do so often. But this is the reason some stuff might seem repetitive or overly explained.
The car maintenance charts
The easiest way of keeping things in check, is to take note of what you did when and what’s next to do and when. For this, I like to use an old fashioned chart that I printed out.
Sure, we’re in freaking 2022, and there’s an app for everything. But there are some things that are so satisfying to have offline.
So if you’d like to use my template of the chart, feel free to download the PDF from here and print it out. Its format is A4 paper. It’s free and well… maybe it helps you too!
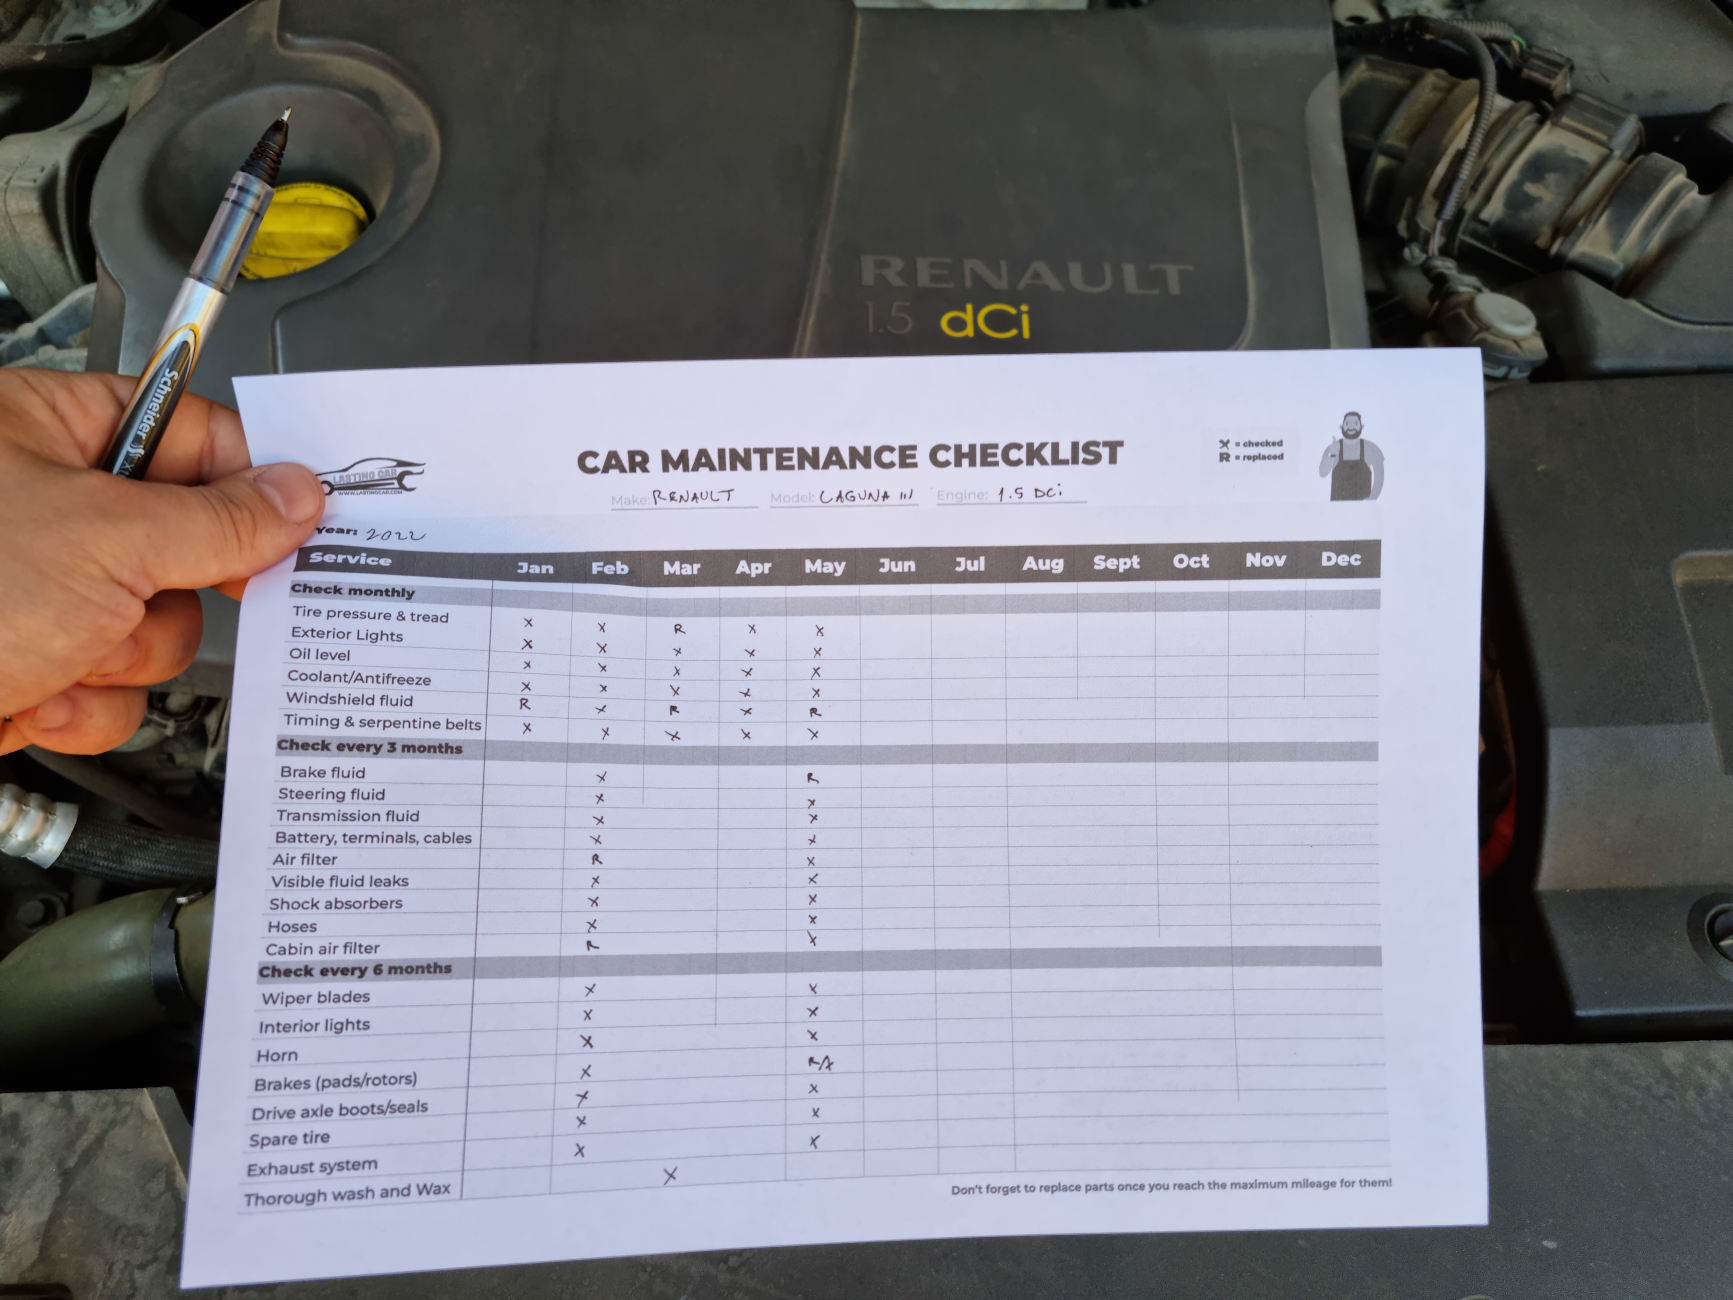
Since using a chart like this, I’ve never skipped everything, and I’m never taken by surprise by a car job or cost.
Of course, do keep a record of your mileage too! Some things must be changed if you reach the required wear. Consult your vehicle’s manual! (like oil changing, etc.)
Check your lights
I usually check my lights weekly if I’m not driving much that week. But if it’s a night drive or it’s rainy, I always check all my lights before leaving.
The actual checking of your car’s lights is easy: get a helper to operate the light controls, and you can check them from outside. Of course, you can also do this by yourself if it’s needed.
Obviously, this is for your and other traffic participants’ safety but let’s also face it: getting pulled over or even fined because of a tail light is kind of dumb.
I’d advise you to have some spares with you if you know it’s going to be a long trip. In my trunk, amongst other things, I have 2 x W5W bulbs, 2 x W16W, and 2 x P1W bulbs (bulbs used by my car, a Renault Laguna III, for different lights). They don’t take up that much space, and in case of emergency, you can sometimes replace them on the spot. I wouldn’t take a spare Xenon bulb like the DS1 or something like that because they don’t usually go out without warnings (pink-ish light). But if you have halogen lamps, I’d have some cheap spares with me at all times just in case. You don’t want that great night trip to be a bad experience because one of your headlights has given up, and you’re nowhere close to an auto shop or a gas station. You’d be surprised how many things can sometimes decide to go wrong in the most beautiful parts of the world, on a Sunday in a town where you know no one and with the gas station 30 miles away. Fun stuff.

The main reason why I like to have some spares with me is that I can pre-buy them online at a low price instead of relying on what gas station or store I find that will probably be a bit steeper.
Check your windshield wipers
Every few weeks or before some rain is predicted on the news, just look at the rubber on your windshield wipers – it should all be in place and looking decent. If they look ok, give them a run and use some liquid too – a great way to check if your windshield wiper fluid nozzles are working properly. And at the same time, you will test if your windshield wipers squeak or make abnormal noises.
In the winter months, I try to have them as fresh as possible. I usually replace them just before the winter. Because they rarely last more than one year, and in the winter (at least where I’m at), they are usually put at hard work. So I want them to be in their top shape.
A good winter tip would be to pull your wipers away from the windshield when parked to prevent ice buildup.
note: obviously, change them as soon as you see they stop working properly or look damaged. After one year of having a set installed, start preparing as they might need changing at any time.
Check tire pressure and tread
The book usually states that you should check each tire with a pressure gauge at least once a month. You can give them a quick visual check before every trip – and you should, as it takes like.. 15 seconds.
Your car’s tires usually lose about 1 PSI (pound per square inch) per month naturally. So once in a while, you would have to top them off.
Having your tires inflated to the correct amount of air pressure as recommended will ensure optimum rolling resistance, saving money on fuel. Under- or -over-inflation of a tire can cause uneven tread wear and can represent a potential safety issue.

To check your wheel’s tread is quite easy on most modern tires. They come with a tread wear bar indicator. And when these bars are visibly flush with the adjacent tire pattern, that means that the tire has no more than 2/32″ of tread remaining. This is an indication that you should replace those tires.
Of course, there are some small gadgets to measure the tread and even the penny test.
The penny test for your tire tread works like this: insert a penny into your tire’s tread groove with Lincoln’s head upside down and facing you. If you can see all of Lincoln’s head, bad news – your tread depth is less than 2/32 inch, and you should really replace your tires.
If you actually measure your tread using a gadget or some other form, here’s what you need to know regarding your tread depth:
| Tread depth | State |
| 4/32″ or deeper | Good |
| 3/32″ | Replace tires soon (start budgeting) |
| 2/32″ or less | Replace tires now! |
Check tire age
Yes, tires ‘expire’. Most laws state that a tire is safe for use on a vehicle six years from the date of manufacture. Be careful!! From the date of manufacture, not since you bought them.
That means you should check the DOT. A marking found on the sidewall of the tire. On modern tires, these are marked as four digits. The first two digits mark the manufacturing week, and the last two the year. This means that something like 0421 will tell us that that tire was made in 2021, week 4.
This matters because even if you don’t wear your tires out (tread wear), you might need to change them soon if you buy something with an old DOT. I, for example, know for a fact that one of my cars will not get to wear the tread on the tires in 4 years. It just doesn’t get that many miles.
But, if I buy 2-year-old tires, while they are legal and everything is ok, I should replace them in 4 years instead of 5 or 6 just because I can risk a fine (according to my state’s law). So shop smart! Look for the DOT to be as fresh as possible, especially if you know you’ll hang on to those tires for a while.
Check fluid levels
This takes less than 10 minutes. And you should do this every few weeks. Or even weekly if you have noticed something damp in the engine compartment, under your car, or you suspect some issue.
What to check:
- Engine oil
- Engine coolant
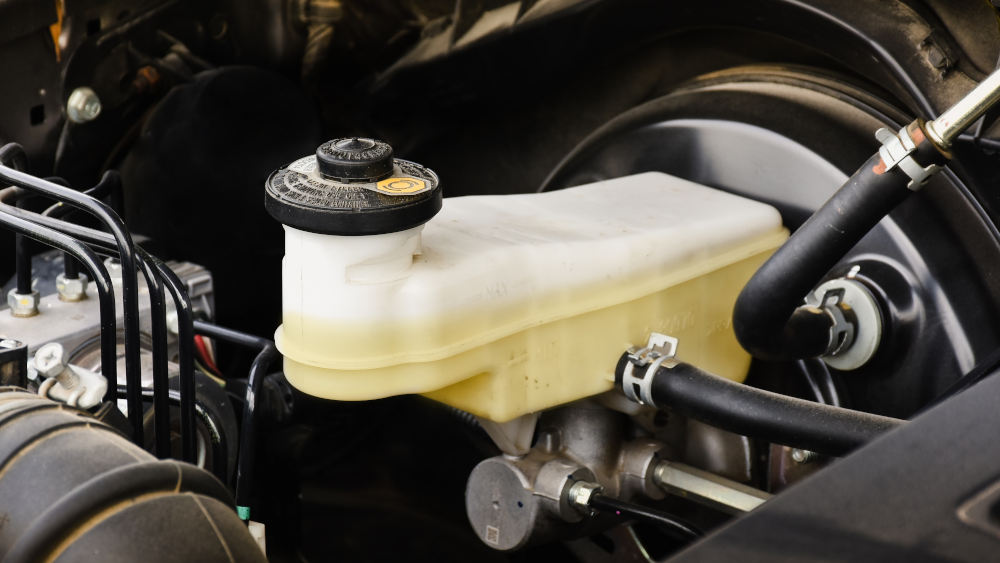
- Brake fluid
- Power steering fluid
- transmission fluid (depending on your car)
- windshield washer fluid
Top off the above fluids if needed. Use your owner’s manual (or service manual) to find out what type of fluid is compatible with your car. Putting the right stuff in is very important!
If something is unexpectedly low since you checked it last time, top off and check for leaks.
Replace the cabin air filter
If you use your car often, a good rule of thumb is to replace the cabin air filter every 6 months. Even if you don’t drive that much, at least check and clean it every 6 months and replace it every 12 months (1 year).
By taking care of this, you’ll make sure that while in your car, you’ll breathe clean air and avoid some god-awful smells that might appear. I’ve written about smelly AC installations here.
Replace the engine air filter
Changing the air filter every 15,000 to 30,000 miles based on how dusty the environment you’re driving in is, is one of the easiest DIY tasks. You can do this anywhere, and it takes at most 10 minutes. If the miles are not met, most manufacturers recommend changing your engine’s air filter every year.
A dirty air filter will increase fuel consumption, decrease performance, and can even affect the long-term health of your engine. So do yourself and your car a favor and don’t skip this step.
Change engine oil and filter
Be sure to check your owner’s manual on what type of oil your car uses and how often changing the said oil is recommended.
Most of the time, this should be done between 3000 to 8000 miles, and cars using synthetic oils can even go to 10,000 or 15,000 miles. But even if you don’t reach those miles, you must change it every year (every 12 months).
On my car, which I know I am going to keep for a while, or a project car, I usually change the oil (yes, even if it’s a synthetic oil) 11 months or 7000 miles.
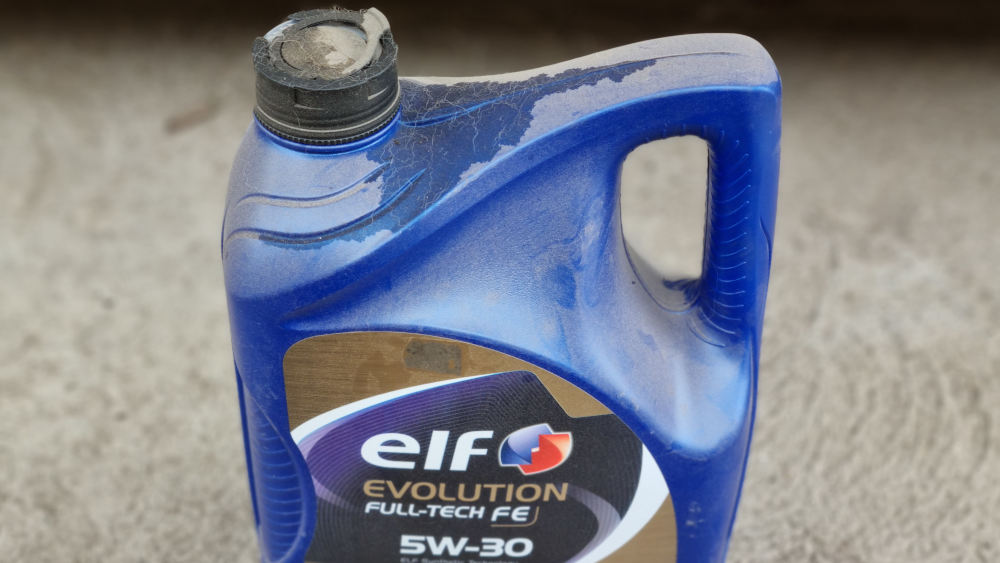
As far as the oil filter goes, even if some will just change it every other oil change… because it’s such a cheap but important part, I’d change it every time you change the oil. The oil inside your engine has a very important role in lubricating the internal components. You want it clean and in top shape.
Rotate your tires
The tread wear patterns on your tires may vary between the front and back tires or even from one side of the tread to the other. Rotating your tires balances the tread wear. This helps prevent noise and vibration problems.
Uneven tread wear patterns usually occur due to vehicle alignment, usage, if you run a lot with them under or overinflated, and many other factors. Serious wear patterns can also give you some warnings about suspension and other problems. So be sure to take notice if one of your tires is seriously worn on the outside or on the inside.
Check your shocks and struts
Even if shocks or struts are quite resistant, they usually last about 40 to 50,000 miles. You should visually inspect them at least every six months.
And you should do it that often just because it’s quite easy to spot a leak and it might save you from other problems. I’ve written about shocks and struts here.
Replace the timing belt
Some cars have a timing belt instead of a timing chain. For these cars, you usually need to change the belt (and some rollers or tensioners). The exact interval varies from car to car. So check your vehicle’s handbook!
You want to do this sooner rather than later. A broken belt can downright kill your engine.
A quick visual inspection for cracks can be made even by the untrained eye (there are a lot of bad timing belts examples online, so compare with yours). But you might want to address this to your mechanic as this is not an easy job and quite a hard DIY project. (it can be done, but you probably already know what you are doing if you can do such an operation)
Please note that engines that run with a timing chain should still get their chain examined as the links can stretch. But it will last well into six-figure mileage for most cars that use a timing chain.
Replace spark plugs
Rough running, hard starting, and even a ‘check engine’ light on your dashboard might indicate something wrong with the ignition system. And usually, it’s the spark plugs.
Copper spark plugs that are cheaper usually need replacing every 30,000 miles. But iridium spark plugs or titanium spark plugs can last well over 80,000 miles, close to 100,000 miles.
So it is worth buying more expensive in this case. I had some iridium NGK’s on my old VW Golf Mk3 just because of this reason.
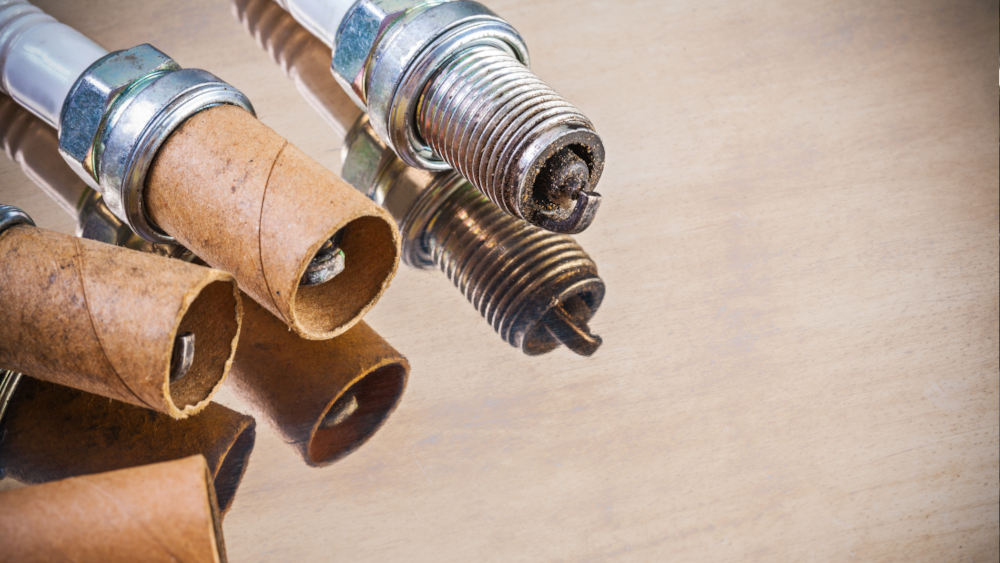
In the case of a diesel engine, you don’t have spark plugs. You have glow plugs. And they usually last up to 100,000 miles.
In any case, gas or diesel, make sure to check your owner’s manual for the exact mileage on when to change your spark plugs or glow plugs.
Replace the serpentine belt
Another belt! Even if the serpentine belt might seem like a dumb piece of rubber, it is essential as it usually powers stuff like your alternator, the power steering pump, and the air conditioner compressor.
Visually inspect your serpentine belt to ensure that it is free of cracks or other wear and tear. Replace it if it’s damaged or according to your car’s manufacturer’s recommendation. Usually, we’re talking about every 40 – 60,000 miles or every four or five years. But again – if your belt is cracked and/or has frayed edges change it ASAP.
Change your engine’s coolant
Most cars need to have their coolant (basically a mix of water and antifreeze) changed every 30,000 to 60,000 miles. But regardless of the miles, this operation should be done every 2 years or 5 years if you have long life coolant. Oh, and be sure that all the old stuff gets flushed out when changing.
If you are DIY-ing this process, you should know that engine coolant is usually highly toxic. So make sure to dispose of it according to the laws in your area. (take it to an auto garage or some local toxic waste facility)
A good idea if you have an older car would be to perform a couple of complete flushes to clean your whole engine cooling system. A great video by ChrisFix is here on YouTube. Your car will thank you, even if this will eat a bit of time.
Replace brake pads
On average, brake pads can last anywhere from 25,000 miles to 65,000 miles. It really depends on where and what type of driving you are doing. And, of course, there are some cars that can have OEM brake pads replaced with performance ones – that last longer.
New brake pads have a lining thickness of 12mm. And once they get lower than 6mm due to wear and tear, you should start paying attention. Most mechanics will tell you that when the brake pad lining is in the 3 to 4 mm range, it’s time for a replacement. And they are right!
Another thing that can tell you that you might want to check the pads is a constant grinding or squeal when you brake. Most pads have this metal part that squeals when they are at the end of their life, signaling us that we need to do a change ASAP.
Don’t ignore this, as you may damage your brake discs and need to change them prematurely. So by delaying something, you make the whole problem more expensive to fix.
And if your car has rear drum brakes, do know that they also have something similar to brake pads that are called brake shoes. They also need changing, usually in a similar interval to pads.
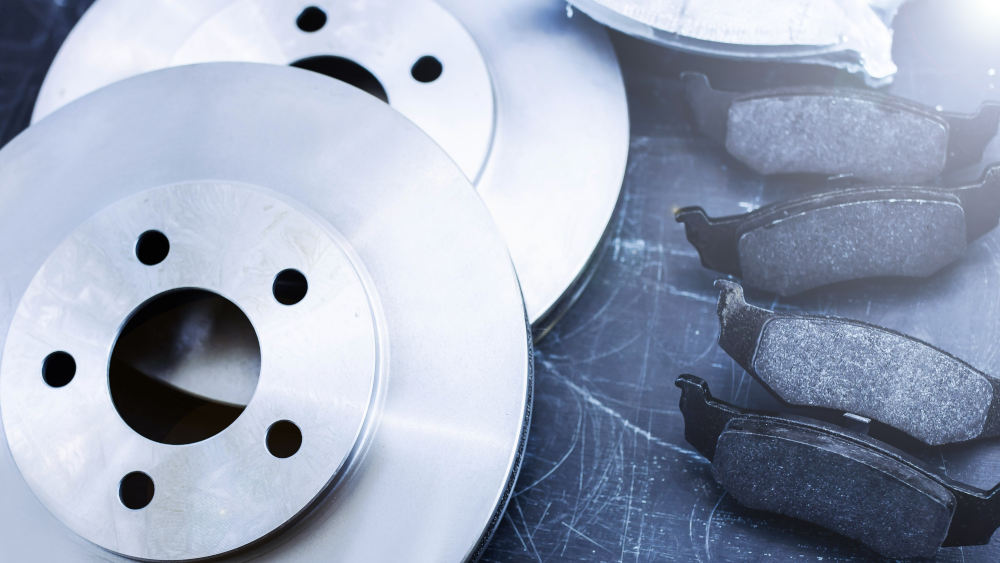
Replace brake rotors
A rough estimate would be that your rotors can last around 70,000 – 120,000 miles. So as you can probably tell, most people go through several sets of brake pads before replacing the discs.
Of course, how long brake rotors last can vary depending on your driving style. They can warp and are subjected to a lot of heat due to the friction between them and de brake pads.
Apart from taking it to a mechanic for a proper inspection, a good way to tell that your rotors might need replacing is when their surface is no longer flat, and it has grooves or scoring and even cracks. A big lip around the edge of the brake rotor or thinning of the rotor surface are just a couple of more signs that you need to replace your brake rotors.
Do not take this lightly. Brake rotors and the whole braking system should be well maintained. The last thing you want is for your brakes to stop functioning properly.
Change your brake fluid
Most cars have brakes engaged through a hydraulic system. This system uses a fluid that we call the brake fluid. In time, this fluid can get contaminated by water which lowers its boiling point and can turn to gas. Gas is compressible, so we’ll get a squishy brake pedal – something we want to avoid.
To ensure that your brakes work as advertised, bleed your brake system of its fluid and replace it with new brake fluid as your car’s manufacturer recommends – usually every 20 to 45,000 miles.
A full flush is not always required. You’d be surprised to find out that a lot of dealerships don’t do it. Instead they just replace most of the brake fluid.
Replace your fuel filter
Just like any other filter in your car, the fuel filter has the job of filtering the impurities, particles, and random gunk we may find in fuel.
Usually it is recommended to replace the fuel filter every 30,000 miles. And while some manufacturers boast with numbers like 100,000 miles… I’d advise you to do it more often.
This is an easy to DIY project, and on most cars the fuel filter is quite cheap. On my Laguna, it’s about $16. So I change it every time I change my engine’s oil. So that’s at least once every 12 months. And unfortunately, I have yet to see one of the old filters come out of my car clean. So it’s clear that it is working hard to help feed the engine with clean fuel only.
Replace your transmission fluid
Low levels of transmission fluid will cause shifting problems and may even burn up the transmission. If your car comes with a transmission fluid dipstick, do check it once every couple of months.
If your car does not come with an easy way of checking the transmission fluid, do take note of what your vehicle’s manual recommends. Like any fluid, the transmission fluid has a certain lifespan, varying greatly from manufacturer to manufacturer, and also depending on if the car is a manual or an automatic.
Check your battery and cables
Keep in mind that batteries are warrantied and pro-rated by time. Most batteries will last about 5 years. Batteries are affected by extreme temperatures, age, and long periods of non-use.
You can test the battery with a multimeter:
- With the car off: connect the multimeter to the positive and negative battery terminals. You should have a voltage of around 12.6 volts.
- Now start the car, and your voltage should ideally be over 10. If your voltage drops below 5 when the car is running, it is on its last legs, and you should replace it right away.
You should check your battery terminals and clamps once in a while for corrosion. You want the battery terminals and clamps clean and preferably greased to prevent corrosion as much as possible.
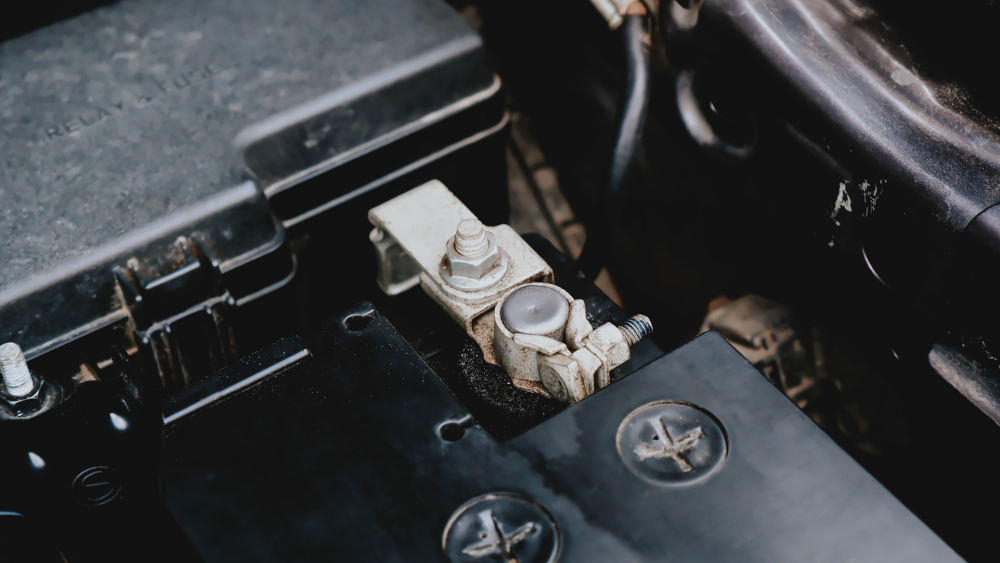
And while we’re talking about the battery, take a careful look at all the visible cables. They should look decent with their insulators in place (no cuts or chips in their protective layers or unisolated parts).
Check visible hoses
Once in a while, it’s a great idea to inspect everything. Hoses are usually made from rubber, silicone, or plastic. And they can get damaged with time and the temperatures inside your engine’s compartment.
What I like to do, is to keep everything nice and clean as much as possible. And that way when something leaks or develops some ugly cracks, it is immediately noticeable.
And oh boy, how sometimes minor stuff likes to appear wild. Like a cracked and leaky vacuum hose. Quite easy to replace, but the car was behaving like something much worse was going on – engine hesitation, sporadic idling… all the works.
Check your exhaust
The catalytic converter, muffler, and exhaust system are very important parts. You should visually inspect them for corrosion once in a while and replace or fix them when it’s time.
And if you do a lot of city driving, do yourself a favor, and once in a while, get it out on the highway, get it up to optimal engine temperature, and floor it a little. Rev it up. You can prevent a lot of problems by making sure that at least once every other month you get that exhaust nice and hot. It will eliminate some buildups and help your whole exhaust system last longer. City driving sometimes involves short trips that may not even heat up the whole car properly.
Clean and wax your vehicle
What? Cleaning is maintenance? Well yes.
The sun (well, actually ultraviolet light), dust, sand, and salt can build up and cause microscopic damage to your car’s paintwork. Waxing your car every six months can ensure that besides being shiny, your paintwork will be protected from harmful factors. This will minimize the risk of faded paint, bad clear coat spots, and even corrosion.
And while we’re at it, just clean the whole damn thing! A little bit of care can do a lot of good and prevent various problems.
For example, your braking system will make for some pretty brake dust deposits on your wheels. Neglecting that dust enough can damage the look of your wheels permanently and when you do decide to clean them up, they will look faded, with black spots or even clear coat parts missing.
Of course, the whole cleaning idea applies to a lot of parts. Like cleaning the throttle body, the EGR, and many other parts not just the exterior or interior. By the way, did you see how you can properly clean the inside of your windshield?
And while you’re at it, clean and / or lubricate those door hinges and the door check links. To prevent squeaks, anoying noises and rust from appearing.
Get yourself an OBD-II scan tool
OBD2 scanners are not just for mechanics anymore. There are a lot of scanners and depending on your budget they will output more or less information about what’s going on.
The good part is that even cheap ones can, most of the time, output some error code. And even if the actual scanner or its app doesn’t tell you exactly what it means, a simple Google will most likely uncover what that error code means. You can go really budget on them, and there are even some apps on Google Play that work with a lot of models and your phone – like Torque Pro.
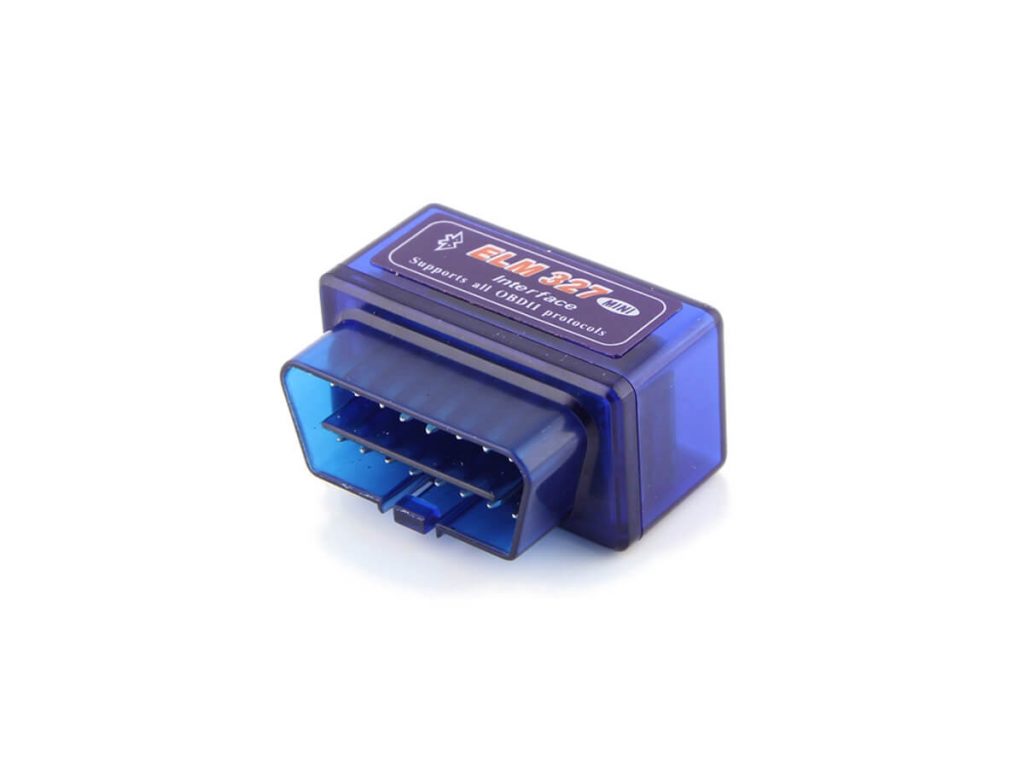
An OBD2 scanner is a precious tool to have on modern cars, as you can diagnose problems and confirm if there really is a problem in the first place. It can eliminate a lot of the guesswork most of the time. So you’ll spend less time debugging and more time driving.
If you are a DIY-er or open to DIYing on your car, an OBD2 scanner and a service manual for your car’s make and model is a must-have in my opinion. Here are some more usefull gadgets like this.
Ending notes
Please keep in mind that the milestones I mentioned are just guidelines. Always make sure to check what your vehicle’s manual or service manual indicates.
In my experience, it is best to be a little on the preventive side. Like if something lasts 50,000 miles, you are better off performing that task around 48,000 miles just in case (of course, if nothing else intervenes and you end up changing that sooner).
A lot of expensive repairs can just be avoided simply by performing regular maintenance and following the above tips. In the end, it’s about caring about your vehicle and prolonging her life. It’s your car and your dime, so you might as well care for it!
Comments are closed.